2. Working with Intella Connect
2.1. Getting started
In order to start the review of a case, the first step is to visit the User Dashboard. The link and user credentials to access the dashboard should be provided to you by the Intella Connect administrator.
After logging in, the following screen will be shown:
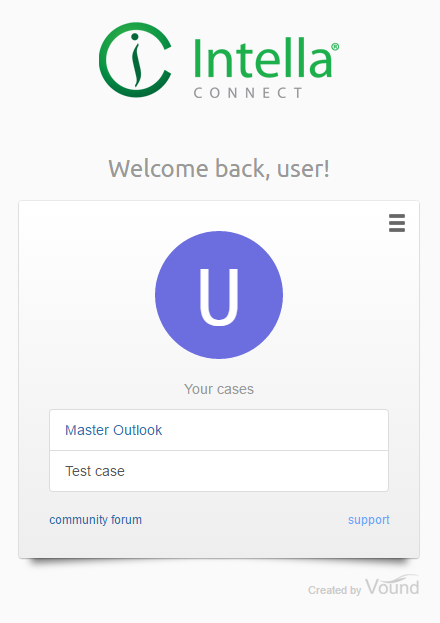
For a better user experience it is suggested to change the default profile image with a custom image. This image will be displayed in the Activity Streams, Comments and User Management pages. The default profile image can be changed by clicking on the “change picture” when hovering over the default image with the mouse cursor. Currently supported image formats are PNG and JPG. The recommended minimum size of a profile image is 128 by 128 pixels. If the ratio of the uploaded image is not 1:1, it is cropped as showed on the figure below:
Under the profile image the cases are listed that are assigned to you. Click on a desired case to access the Intella Connect case reviewing interface.
- The options icon
 allows user to change:
 - the password
- the avatar image
or log out from Intella Connect:
To change password, select Change password from the menu.
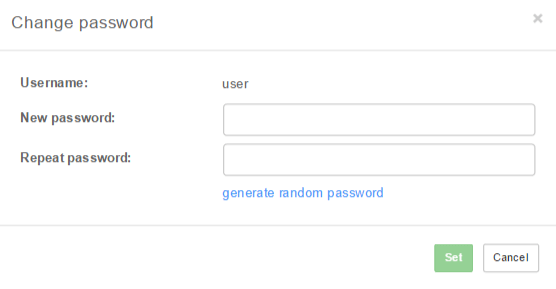
Once the password fields are filled in, click on the Set button to change the
user’s password. After changing the password, you will be asked to log in with new password.
Note: Passwords can be generated by clicking on thegenerate random passwordlink.
Changing the avatar Image is straightforward - select Change avatar picture
from the menu. After dialog is shown press Choose file button and select the
picture (png/jpg) you want to use as avatar.
2.2. Overview of the Intella Connect case reviewing interface
The first page that will be shown to user, which has successfully logged in and has permission to review case is the Case Dashboard.
