9. Setting up HTTPS (GoDaddy™ example)
9.1. Abstract
Very often you might wish to set up HTTPS protocol for an existing certificate that has already been issued to your company and is already used in production. In cases like these it’s handy to import it to a keystore (which is required by Intella Connect), rather than paying for and maintaining a second certificate.
This step-by-step example shows how to set up a fully functional keystore for an existing GoDaddy™ certificate. It uses a third party application Keystore Explorer which offers a simple an intuitive user interface to do most of the work.
Note: Vound is not associated with neither GoDaddy™ nor developers of Keystore Explorer and we wish not to promote either of them. This guide serves explanatory purposes and should be treated as a learning material only. As for Keystore Explorer, Vound cannot be held accountable for any misuse or damage that might be a result of using it. If you feel uncertain if you should use it, please consult your IT specialists or keep on relying on keytool.
9.2. Introduction and prerequisites
Before attempting to create a keystore to be used in Intella Connect one must realize that there are many industry standards governing the process of producing a valid SSL certificate. Therefore it’s common to encounter different types of keystores, keys and certificate formats. Not all of them work interchangeably and explaining all the differences between them is beyond the scope of this article.
It’s also vital to understand that certificates are created based on a pair of keys: public and private. It should be obvious for any engineer generating the SSL certificates what role those keys play in the encryption process and this will not be explained here. If you are reading this document but you don’t have any keys generated yet, it’s best if you follow this guide to quickly get on the right track. If you do, however, own a certificate already then those keys had to be generated beforehand and the remaining of this document will help you to use them properly to import your certificate into a new keystore.
There is only one prerequisite for you to follow at this point, and that is:
You must obtain a copy of your private & public keys pair in PKCS#12 format stored as a single *.p12 file.
If you own a certificate but don’t have keys (and .p12 file), you might still want to read the rest of this document for educational purposes, however, without them you will not successfully generate a keystore. Keep in mind thought that GoDaddy™ offers you to recreate keys if you lost them for the certificate that you bought. That being said, Vound will not assist you in this process as it’s beyond what we could support.
The rest of this document heavily relies on screenshots that ought to be self-explanatory. If they are not, some textual context is also provided.
For the entire process illustrated below we have been using a freeware application called Keystore Explorer, which is available for download here: http://www.keystore-explorer.org
9.3. Obtaining your *.p12 file
Create a new empty folder for you to work with. Then create a subfolder called “prerequisites” and place there the *.p12 file which contains your private and public keys which were used to generate the CSR (Certificate Signing Request) and as a result your SSL Certificate.
9.4. Downloading your certificate
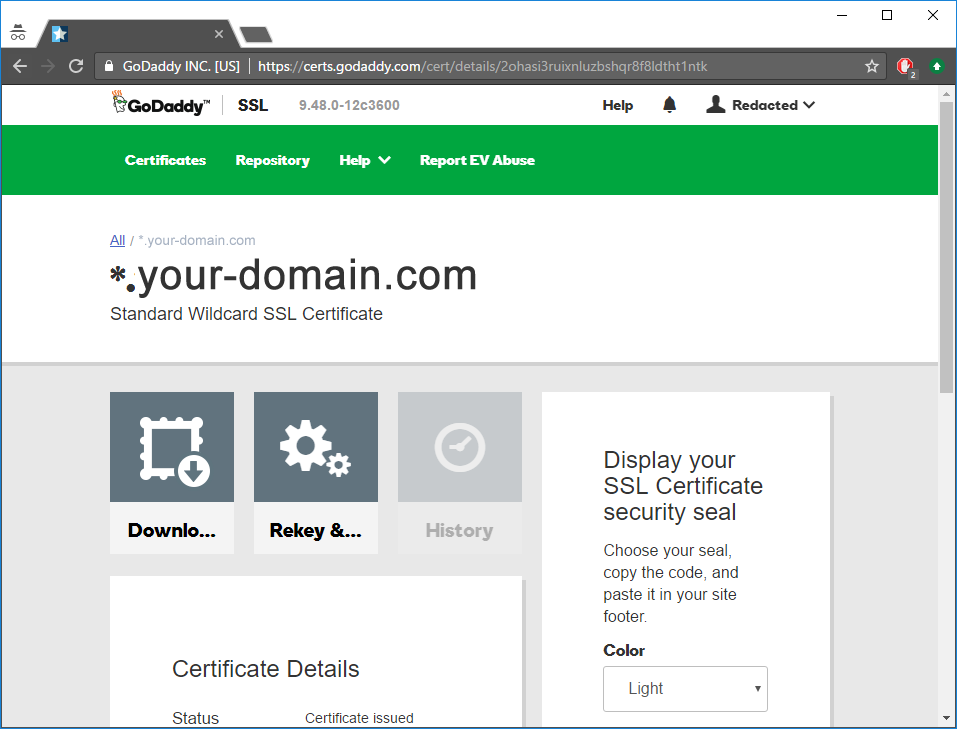
Go to https://godaddy.com and log in to your account. Then navigate to the page with details of the certificate that you wish to install.
Then go to the download page and select Tomcat as the type of your server.
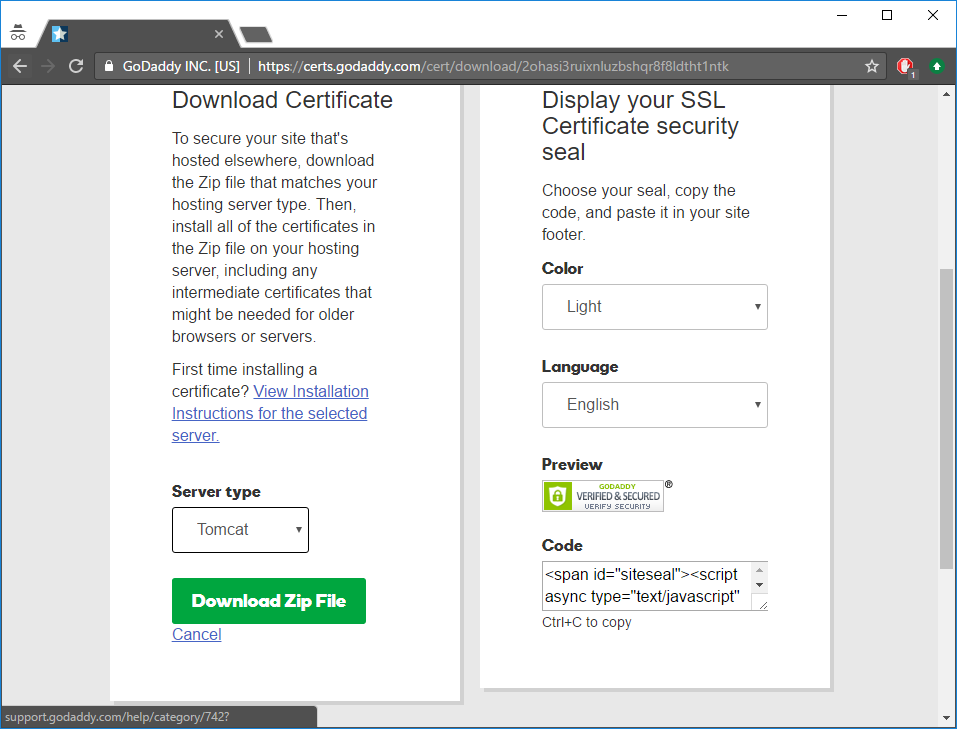
Press “Download Zip File” and save the file as “tomcat.zip” into “prerequisites” folder.
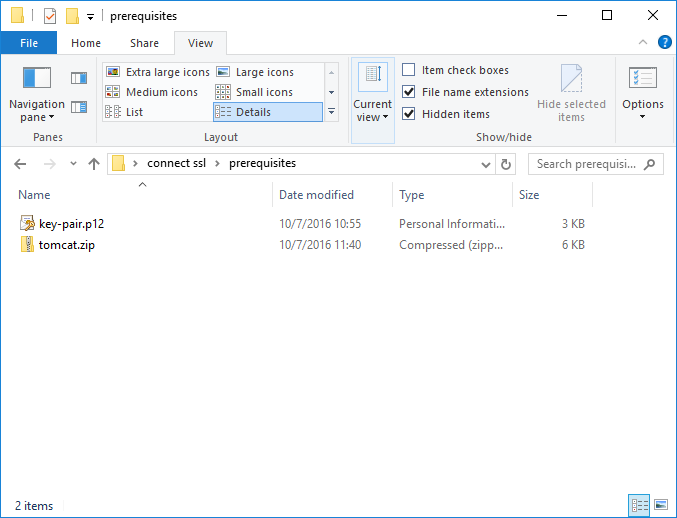
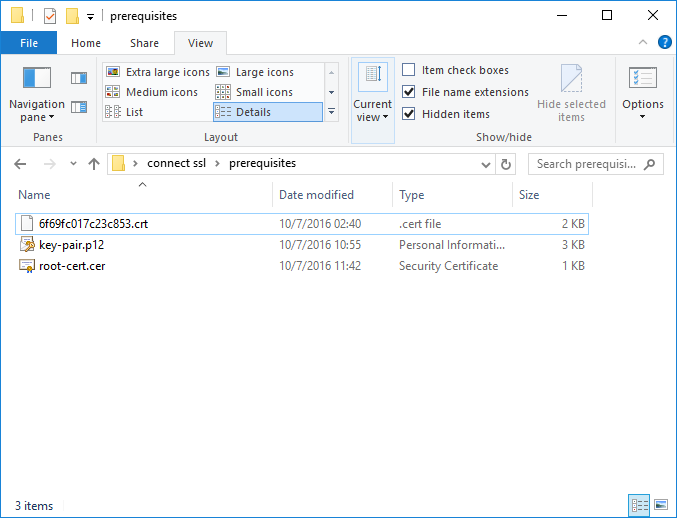
Next unzip the “tomcat.zip”. There will be few files there, most of which you don’t need. In our case those were:
- 6f69fc017c23c853.crt // This is the certificate issued for our domain. You will need only this one to continue, however the name will probably be different in your case.
- gd_bundle-g2-g1.crt
- gdig2.crt
Remove unnecessary files (keeping only certificate issued for your domain) and proceed to next step.
9.5. Exporting intermediate and root certificates
Right now you should only have two files in your “prerequisites” folder. Double click on your certificate file and that should open standard Windows’ tool for analyzing certificates (sometimes referred as Crypto Shell Extension). This is basically a viewer which you can use to examine certificates.
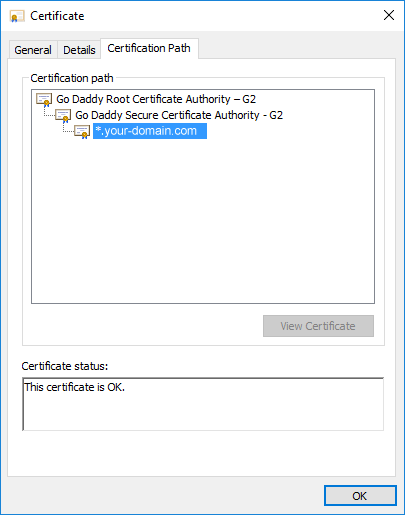
Select the top-most certificate (Root) and double click it. That should open another viewer.
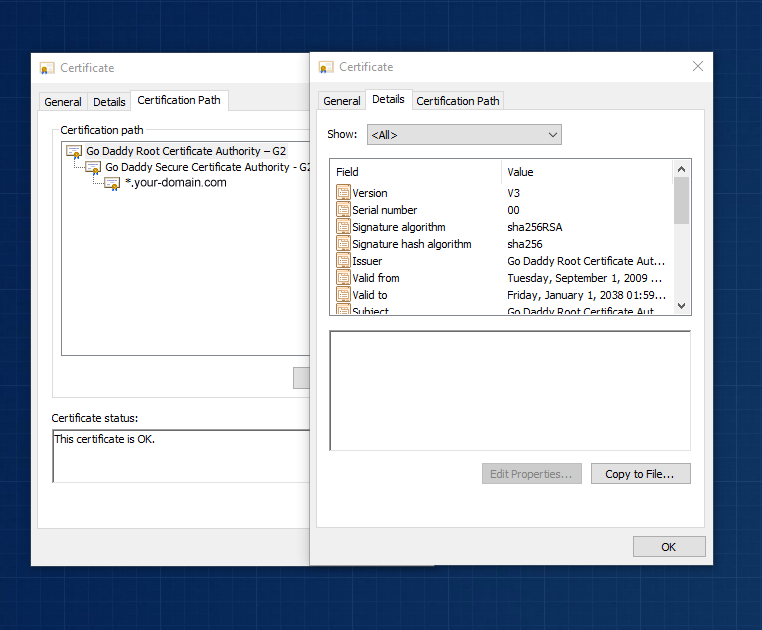
Navigate to “Details” tab and press “Copy to file” to start exporting of the certificate. Next you will see a wizard which should guide you through the process of exporting the certificate. Just follow it all the way through using default settings. Save the output in the “prerequisites” folder as “root-cert.cer”.
Repeat the same process for the certificate which was shown in the middle when you examined your own certificate. This one is sometimes called “intermediate certificate” so save it as “intermediate-cert.cer”.

Files listed above are essential for the rest of the process so make sure you did all the steps right until this point.
9.6. Creating a new keystore
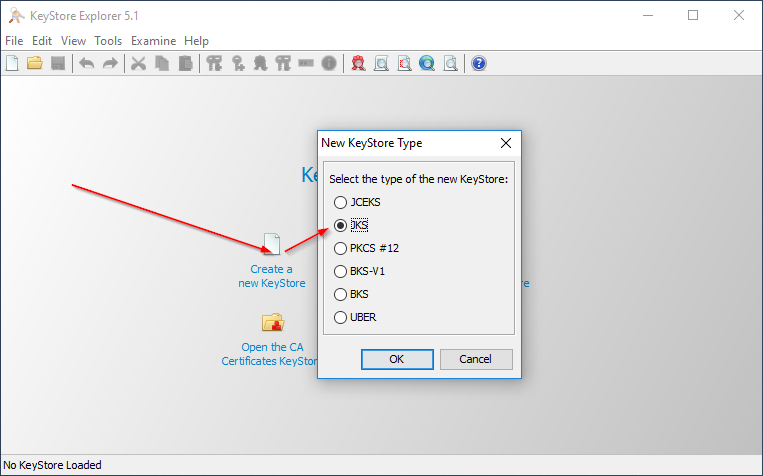
Launch Keystore Explorer and create a new keystore of JKS format.
The next step is critical and it shows why having a pair of keys is essential for the whole process. You must import them first as they are the main entity used during the cryptology process.
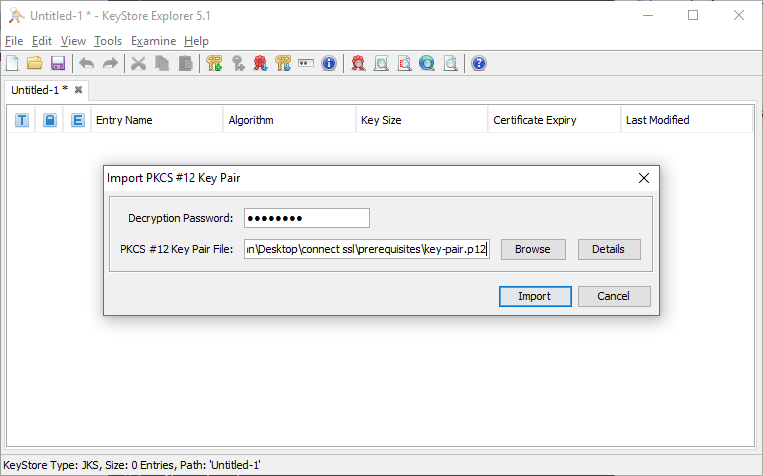
To do that select “Tools” from main menu then “Import Key Pair”. You should then select the proper format, in our case PKCS#12 as this corresponds to *.p12 file. Then provide the password which governs access to keys in *.p12 file and select the right path. This is illustrated below:
Afterwards the UI will ask you for an alias. This is just a simple name to be used inside the Keystore. You can use whatever you want, but for clarity use “connect” as we did in our example.
Next, you must specify passwords for these keys inside your keystore. Once again use whatever you want but keep track of this password.
You should see a final message saying that this process has been successfully completed.
Next step is to put the intermediate and root certificates into your keystore. Once again go to “Tools” and this time select “Import Trusted Certificate”. Start with importing the “root-cert.cer” first. Keystore Explorer will ask you if you trust this certificate and you want to add it. Proceed with default options (keeping the alias the same as it was) until you reach to the end and see another successful message.
Next repeat the last process for “intermediate-cert.cer”. Proceed as before until you see another successful message. At this point you should have those three entities in your keystore.
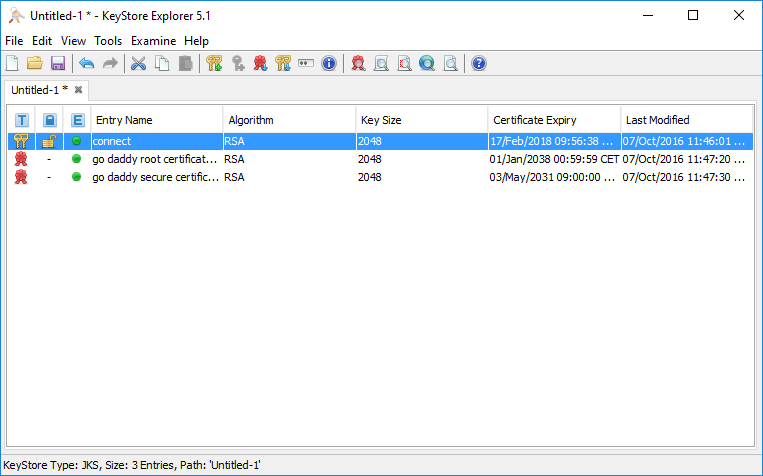
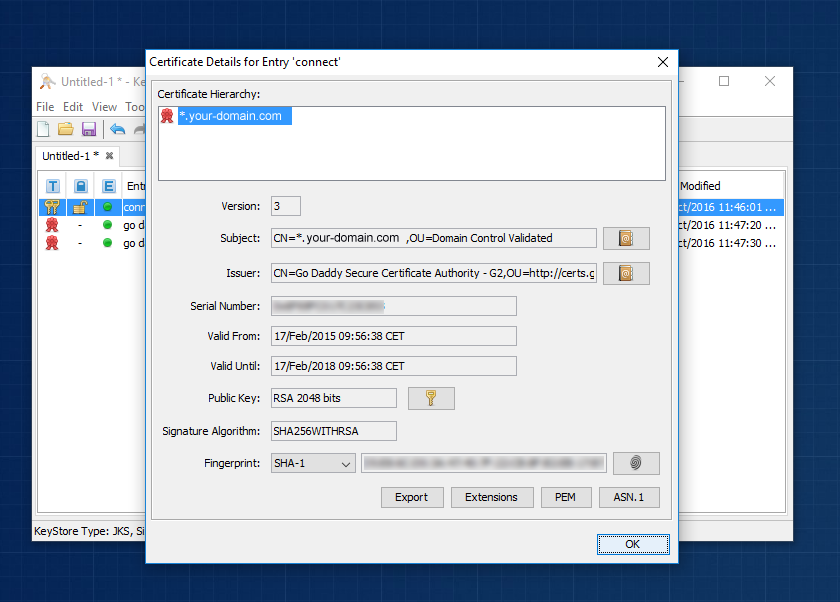
Now you can now double click on “connect” entity. This opens up a detailed view which will show you a proper certification path when we complete all steps. Right now it’s important to note that you can only see one entry in the “Certificate Hierarchy” panel, which is illustrated on the screenshot below.
9.7. Import GoDaddy™ certificate to your keystore
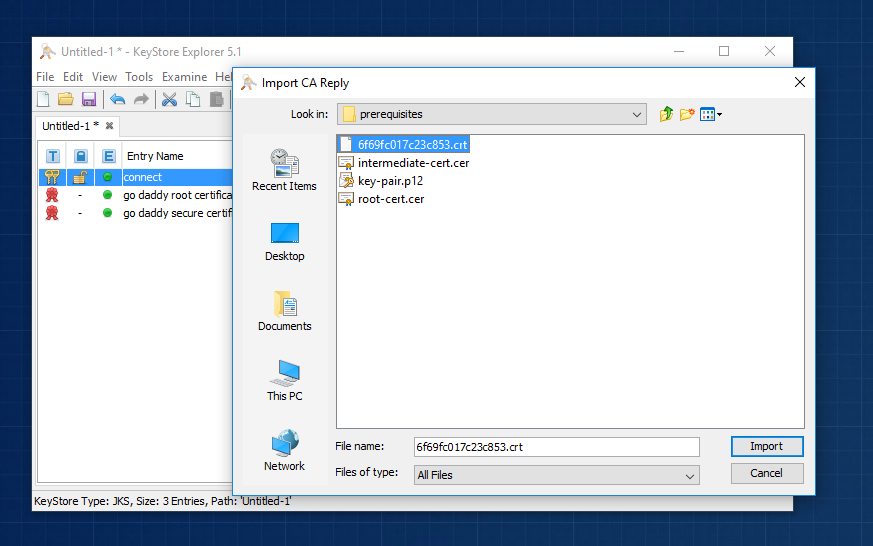
At this point we are ready to import the signed certificate from your provider. Close the details view and right click on the “connect” entity with your mouse. That should open up a contextual menu which has few common options available. Please note the “Import CA reply” option. What this option does is it allows getting an existing certificate signed with GoDaddy™ and using this information to alter the certification chain for an entity selected in your keystore. Use this option and select the main certificate that you downloaded before (in our case that was 6f69fc017c23c853.crt). This should be a quick process finishing with another success message.
Now double click on “connect” entity again to see if certification hierarchy has changed. You should see all three certificates in chain (root -> intermediate -> your domain).

9.8. Save your work and configure Intella Connect
You should now save your work from the “File” menu in Keystore Explorer. Keystore Explorer will ask you to provide passwords governing the entire keystore. This creates single file (in our case “connect.keystore”) which will then have to be provided in Intella Connect Admin Dashboard (along with passwords to the keystore and private keys too). This is explained in more details in this guide.