The application folder contains an executable called IntellaConnect.exe that can be used to launch the application. The desktop and menu shortcuts also start this executable.
Important: Intella Connect will not install in an installation folder of an earlier version. Install a new version of Intella Connect in a folder with a new name, for example: C:\Program Files\Vound\Intella Connect 1.7.1\. It is possible to install multiple Intella Connect versions side by side.
To start Intella Connect, double-click on the Intella Connect icon on the Desktop or select Intella Connect from the Start menu.
Note: No splash screen or window will be shown when you start Intella Connect. Instead, an Intella Connect icon will show in the Windows system tray.
Locate the green Intella Connect logo in the system tray and either:
This will open the Intella Connect Dashboard in your web browser. When requested for a user account, enter admin as username and admin as password. These are the default values. How to change them is explained in User management section.
Intella Connect Dashboard will only show the cases that have been created with Intella Case Manager when running Intella 100, Intella 250, Intella Professional (Pro) or Intella TEAM Manager on the same computer as Intella Connect is running.
if you have not created any cases yet, you can do so in Intella Case Manager. For more information, please refer to section 7.1.1 “Creating a new case” of the Intella User Manual.
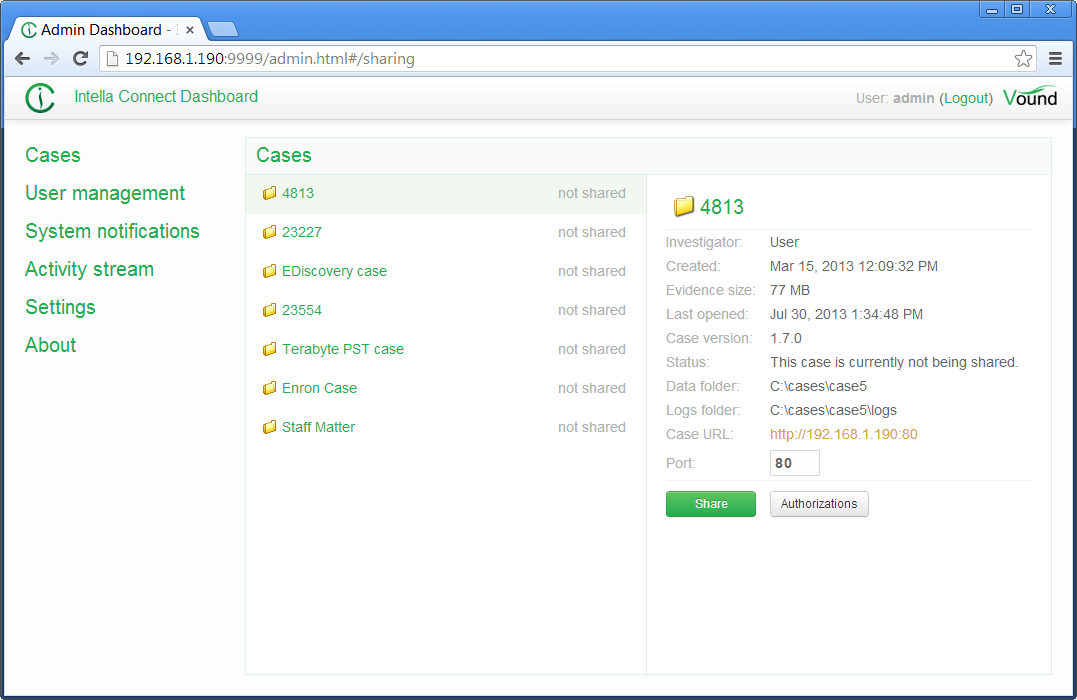
Select the case you wish to share by clicking on the case name in the Dashboard. This will show the case details on the right of the page and allow you to access the settings and share function for that case.
Note: the first time you share a case, you may be asked by your firewall software (for example Windows Firewall) to allow networking for Intella Connect.
The TCP port for that case can be set in the “Port” field. How to define users, which would be able to access shared cases, is explained in User management section.
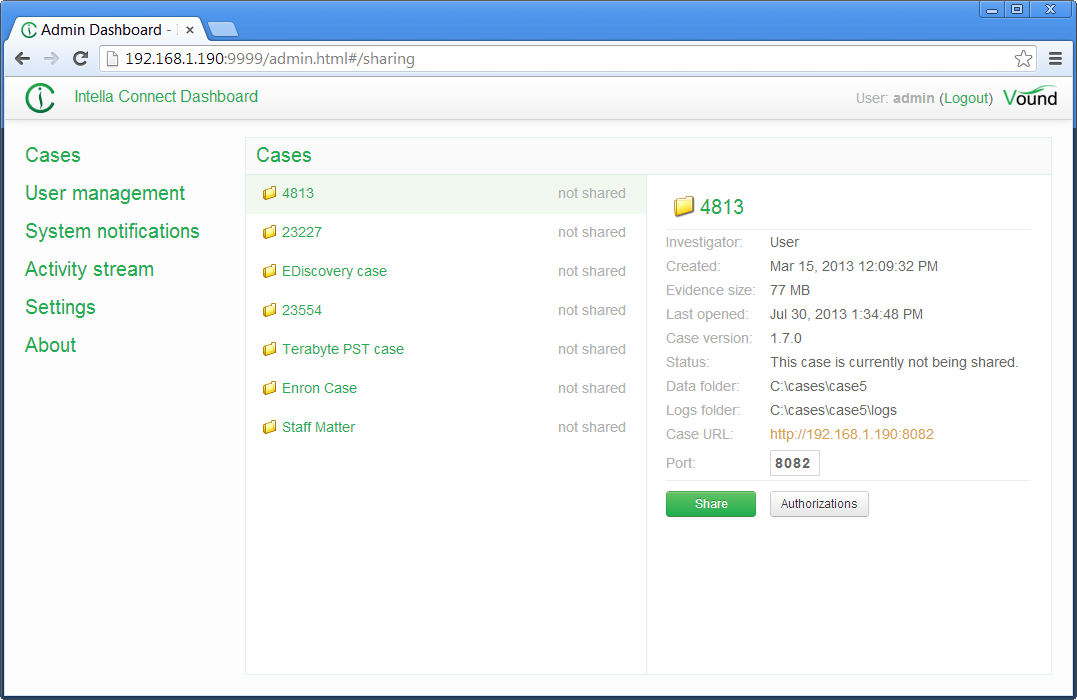
Once complete, click Share.
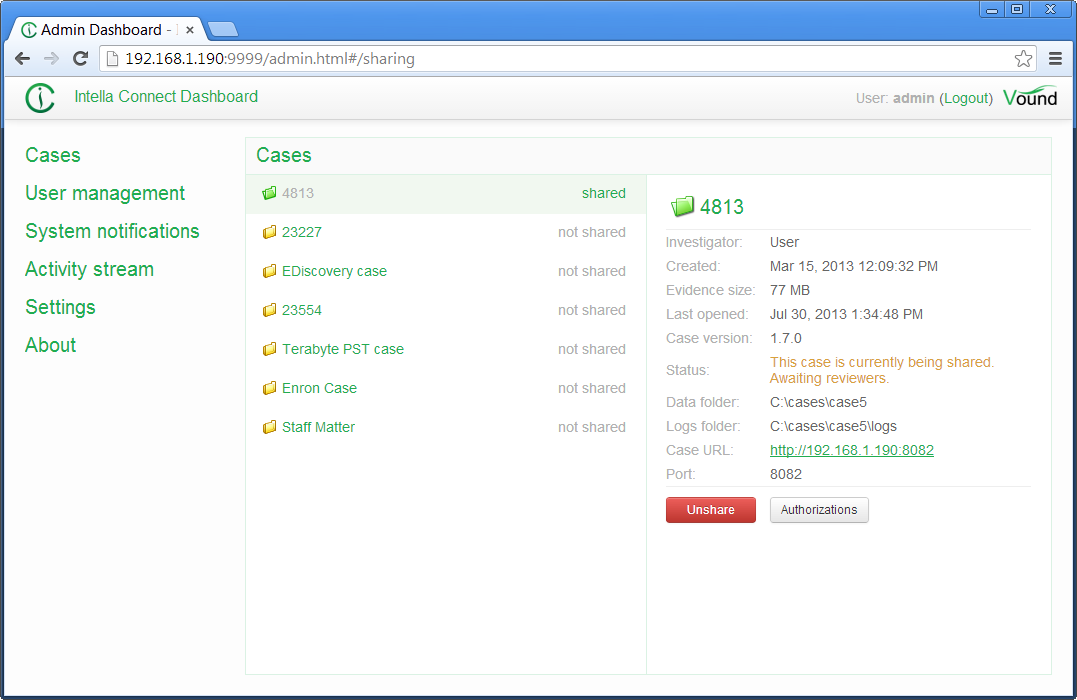
The image above shows the case having been shared. Note the location of the case address and port, shown as green underlined clickable link.
Note: If you have already shared a case with Intella TEAM Manager, then you will not be able to share it with Intella Connect on the same computer and vice versa.
The case is now ready for review from a networked computer.
You, as administrator, can access any of the cases with clicking on a listed case URL inside Administrator dashboard.
You should point users to the same URL you are using to access the Intella Connect Dashboard. Based on their role they will be redirected to the User dashboard where the cases they have access to will be listed and where they can change default avatar image.
Note: The remote computer has to have TCP/IP access to the computer specified as the Intella Connect server.
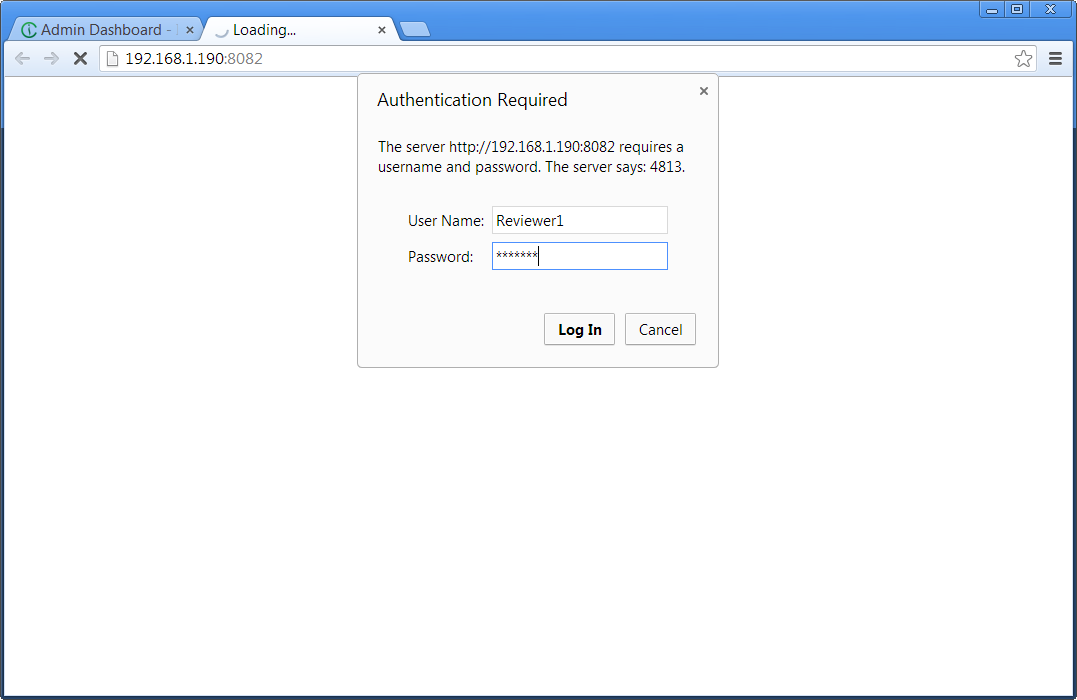
Once logged in, Intella can be used as usual.
